How to Add a Combo Dish
A combo dish allows the customer to create a dish out of multiple menu items.
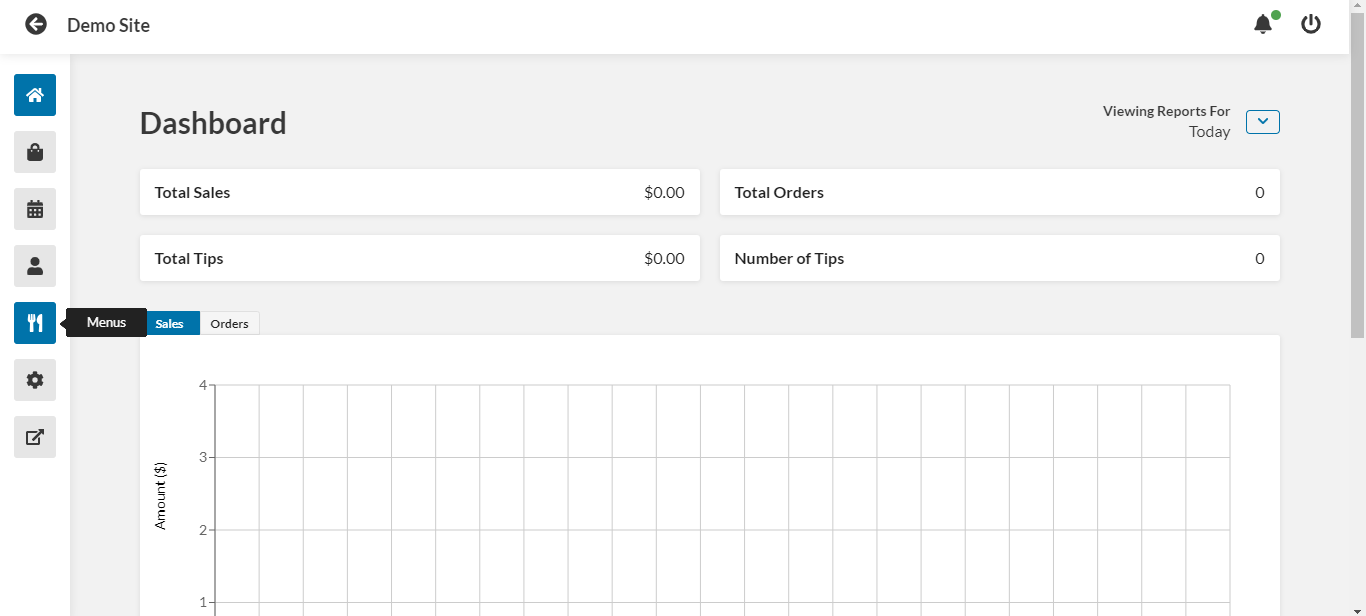
- From the dashboard, click the Menus button on the left hand side of the screen.
- Select the menu you want to add the combo dish to.
- Select the menu category you want to add the combo dish to.
- Click Create New Dish.
- In the window that pops up, select Combo under Dish Type.
- Enter a name for the dish.
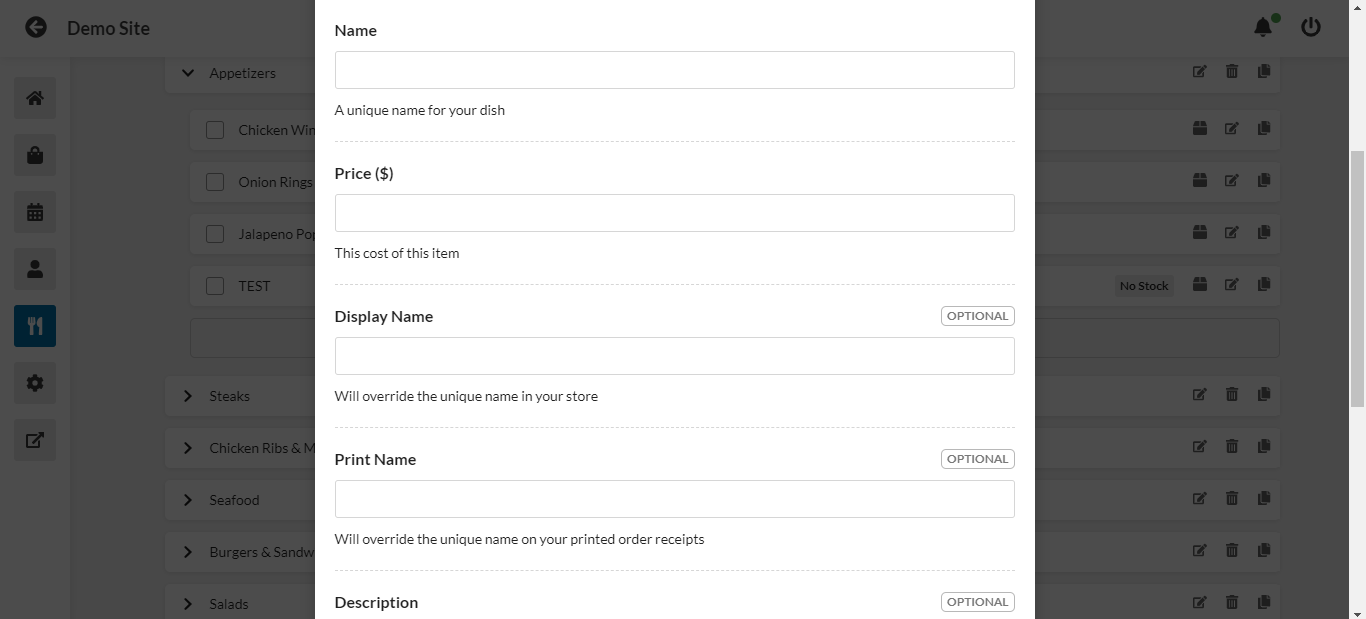
- Enter the price of this dish.
- Select the combo price type. Standard means that all combo choices will be set at the same price. Difference means that the price of the combo dish will change based on the customer's choices.
- Enter the name of the dish that will display to customers.
- Enter the name of the dish as it will appear on printed receipts.
- Enter a description for the dish.
- Enter a subtitle for the dish.
- Use the drop down menu to designate option sets that will not be available for this combo dish.
- Select the taxes that should be applied to the dish.
- Scroll to the top of the window and click the Images & Tags tab.
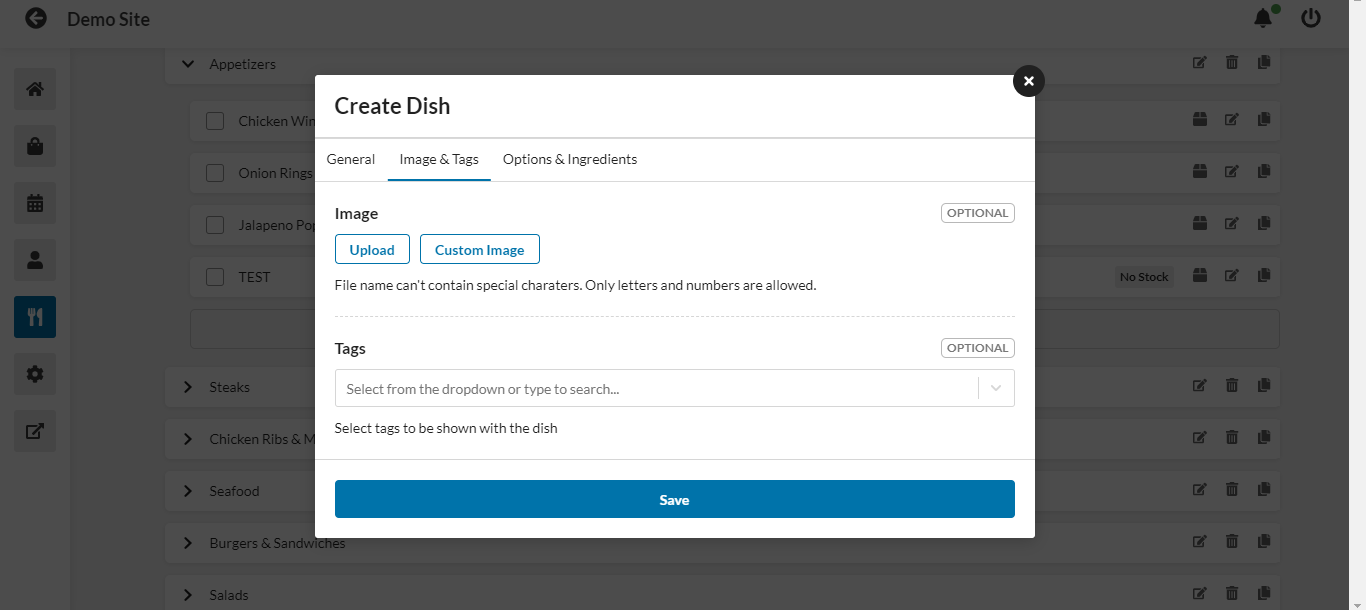
- Click the Upload button to add an image to the dish. You can choose a file, link to a site, or take a picture with your device's camera. Click the Custom Image button to directly link an image from a URL.
- Use the drop down menu to choose any dish tags to be associated with the dish.
- Click the Dish Choices tab at the top of the window.
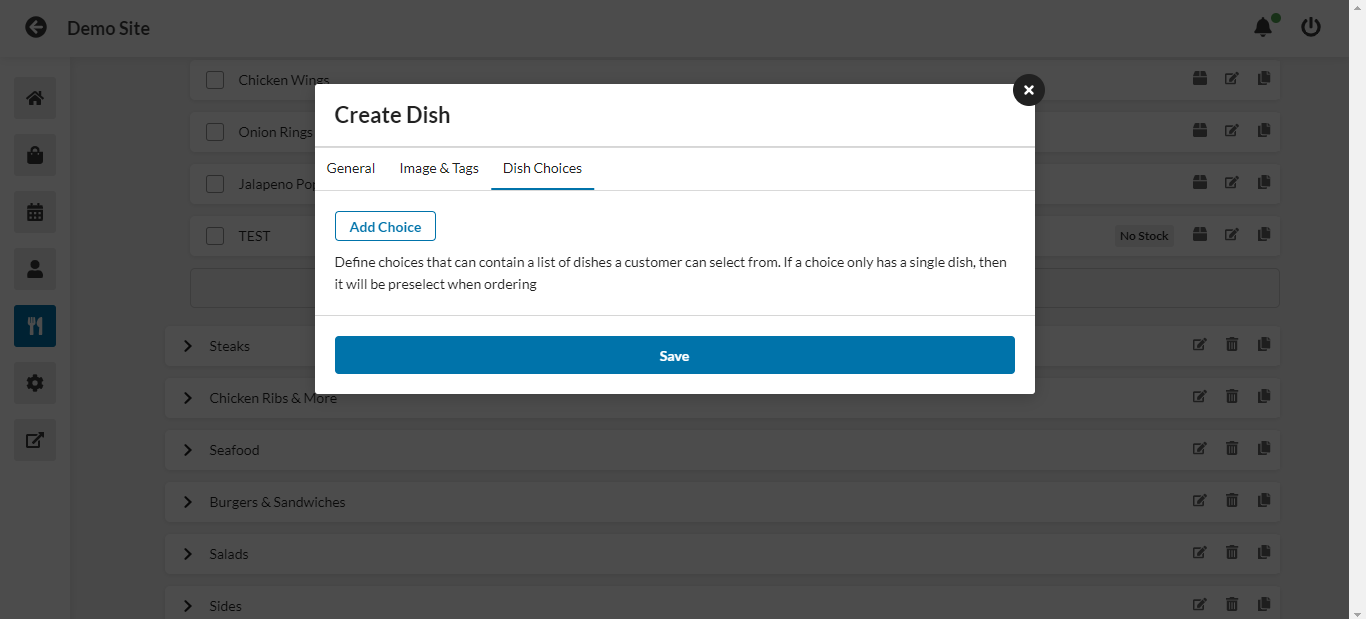
- Click Add Choice.
- Enter a name for the choice in the Name field.
- Use the list below the field to select the choice.
- Repeat steps 19-21 as necessary.
- Click Save.